Torch-Down Roof Installation in San Mateo: A Durable Flat-Roof Solution for Bay Area Homes
If you have a flat or low-slope roof in San Mateo, you already know the biggest enemy isn’t just age—it’s water. Even small puddling or weak seams can lead to leaks, wood rot, mold, and costly repairs. That’s why many Bay Area homeowners and property managers choose torch-down roofing: a tough, water-resistant membrane system designed specifically for low-slope performance.
In this guide, we’ll break down what torch-down roofing is, why it works well in San Mateo’s coastal climate, and what to expect during installation.
What Is Torch-Down Roofing?
Torch-down roofing is a type of modified bitumen roof system installed using heat (a roofing torch) to melt the underside of the membrane and bond it directly to the roof surface. It’s commonly used on:
Flat or low-slope residential roofs
Garages and additions
Apartment buildings and commercial flat roofs
Patio covers and utility structures
Because it creates a sealed, continuous surface, torch-down roofs are especially effective at preventing water intrusion—one of the main challenges with flat roofs.
Why Torch-Down Roofing Is Popular in San Mateo
San Mateo sits close to the coast, which means roofs here often deal with:
Morning fog and moisture
Wind-driven rain in storm season
UV exposure and temperature swings in summer
Debris buildup from trees (especially near parks and older neighborhoods)
Torch-down roofing performs well in these conditions because it’s:
✅ Highly water-resistant
The heat-welded seams help reduce the risk of leaks, especially around edges and transitions.
✅ Durable and puncture-resistant
Compared to some single-ply systems, modified bitumen holds up well against foot traffic and minor impacts.
✅ Great for low-slope drainage
Torch-down membranes are designed for roofs that don’t shed water quickly like steep-slope shingles.
✅ Cost-effective for flat-roof replacements
It’s often a strong value option for property owners who want long-term performance without premium-price systems.
Torch-Down Roofing Types: 2-Ply vs. 3-Ply
Most torch-down systems come in layers:
2-Ply System (Common Residential Choice)
Base layer + cap sheet
Solid balance of cost and durability
Great for many homes, garages, and additions
3-Ply System (Extra Protection)
Base sheet + mid layer + cap sheet
Better for heavier weather exposure or high-traffic roofs
Often used on larger or commercial flat roofs
A qualified roofer will recommend the best option based on the roof’s slope, condition, and how much exposure it gets.
What to Expect During Torch-Down Roof Installation
A proper torch-down installation is all about preparation and detail work. Here’s a typical process:
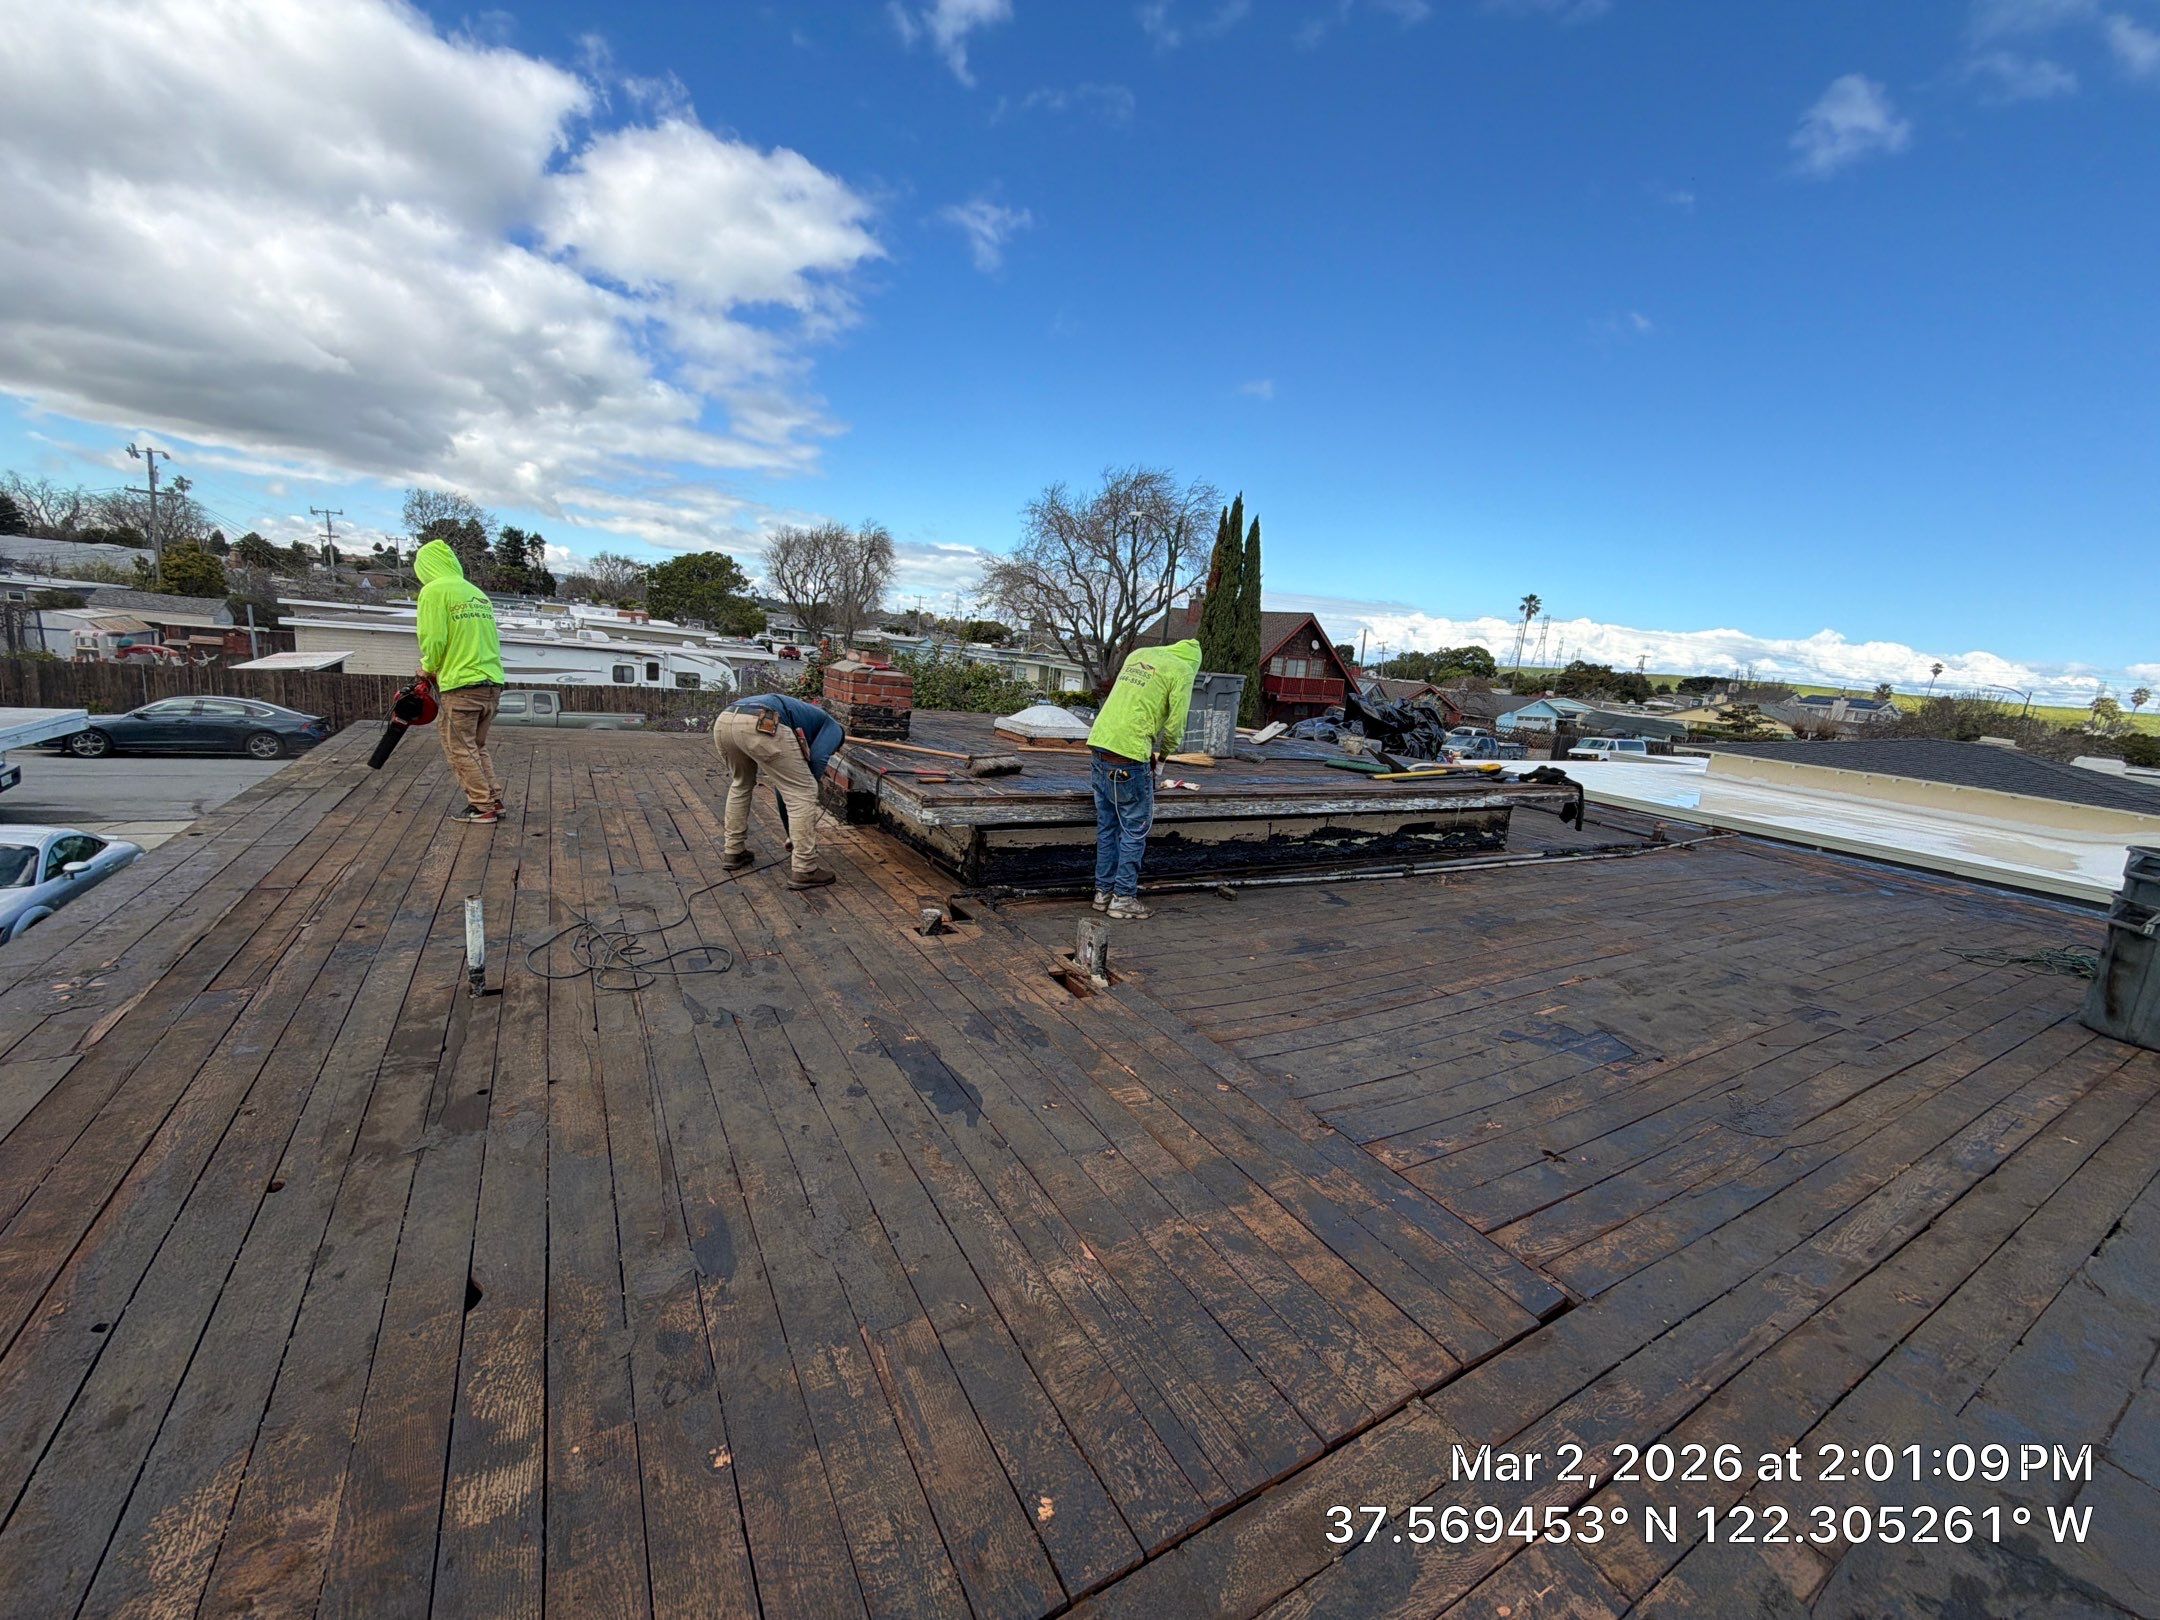
1) Roof Inspection and Tear-Off (if needed)
The crew checks for:
Soft spots / rotted decking
Moisture trapped under existing layers
Drainage issues
Flashing damage around vents, skylights, and walls
If there’s older roofing material failing, it may be removed to create a clean, stable surface.
2) Deck Repairs and Surface Prep
Any damaged plywood or decking is replaced. Then the roof is cleaned and prepped so the membrane bonds correctly.
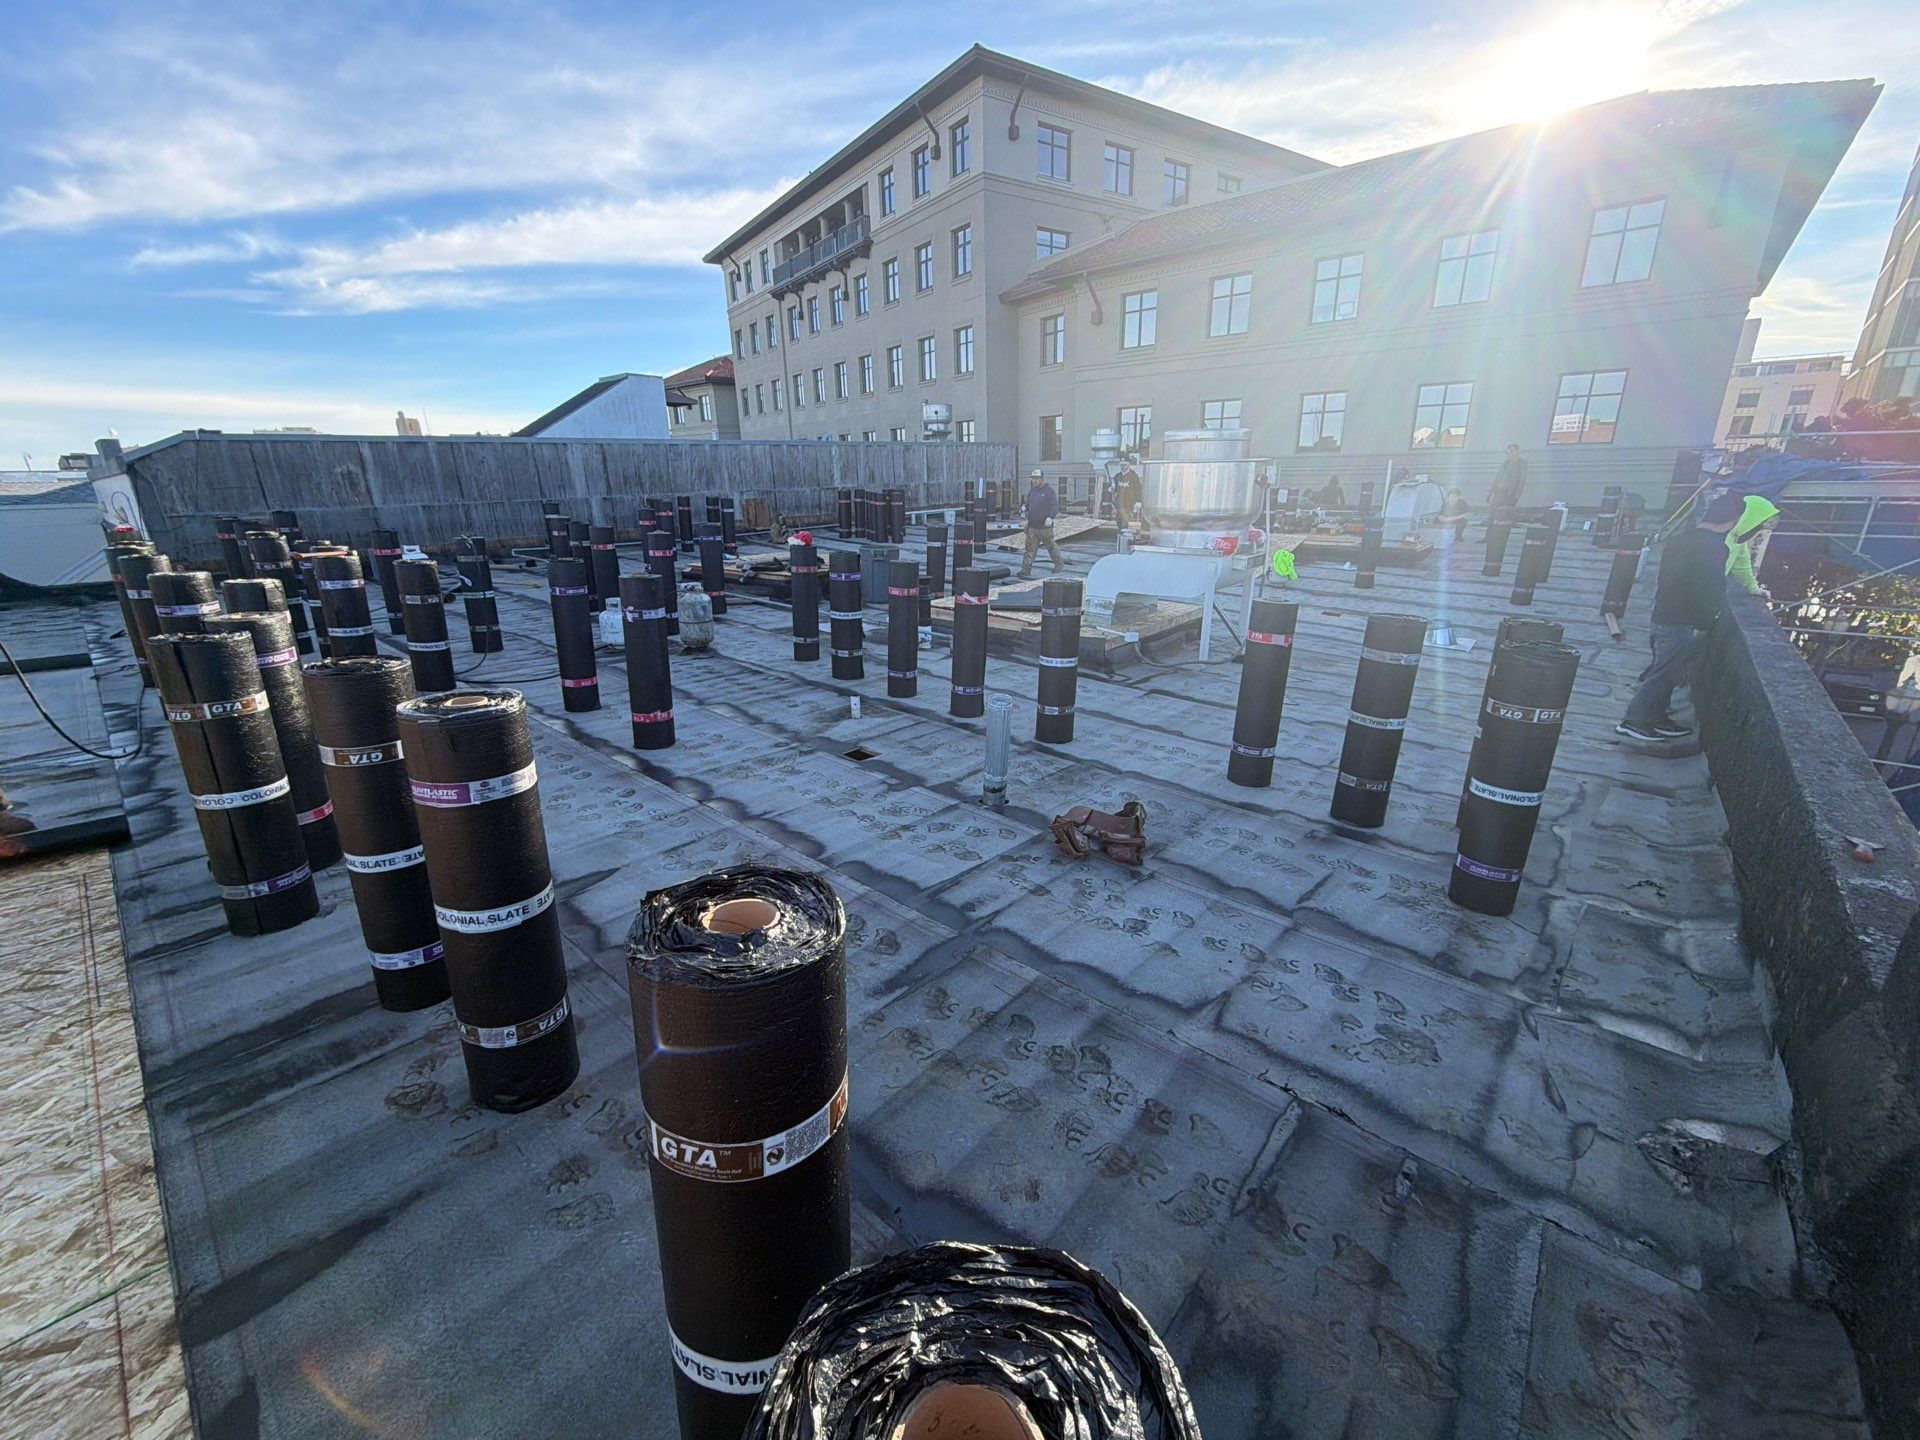
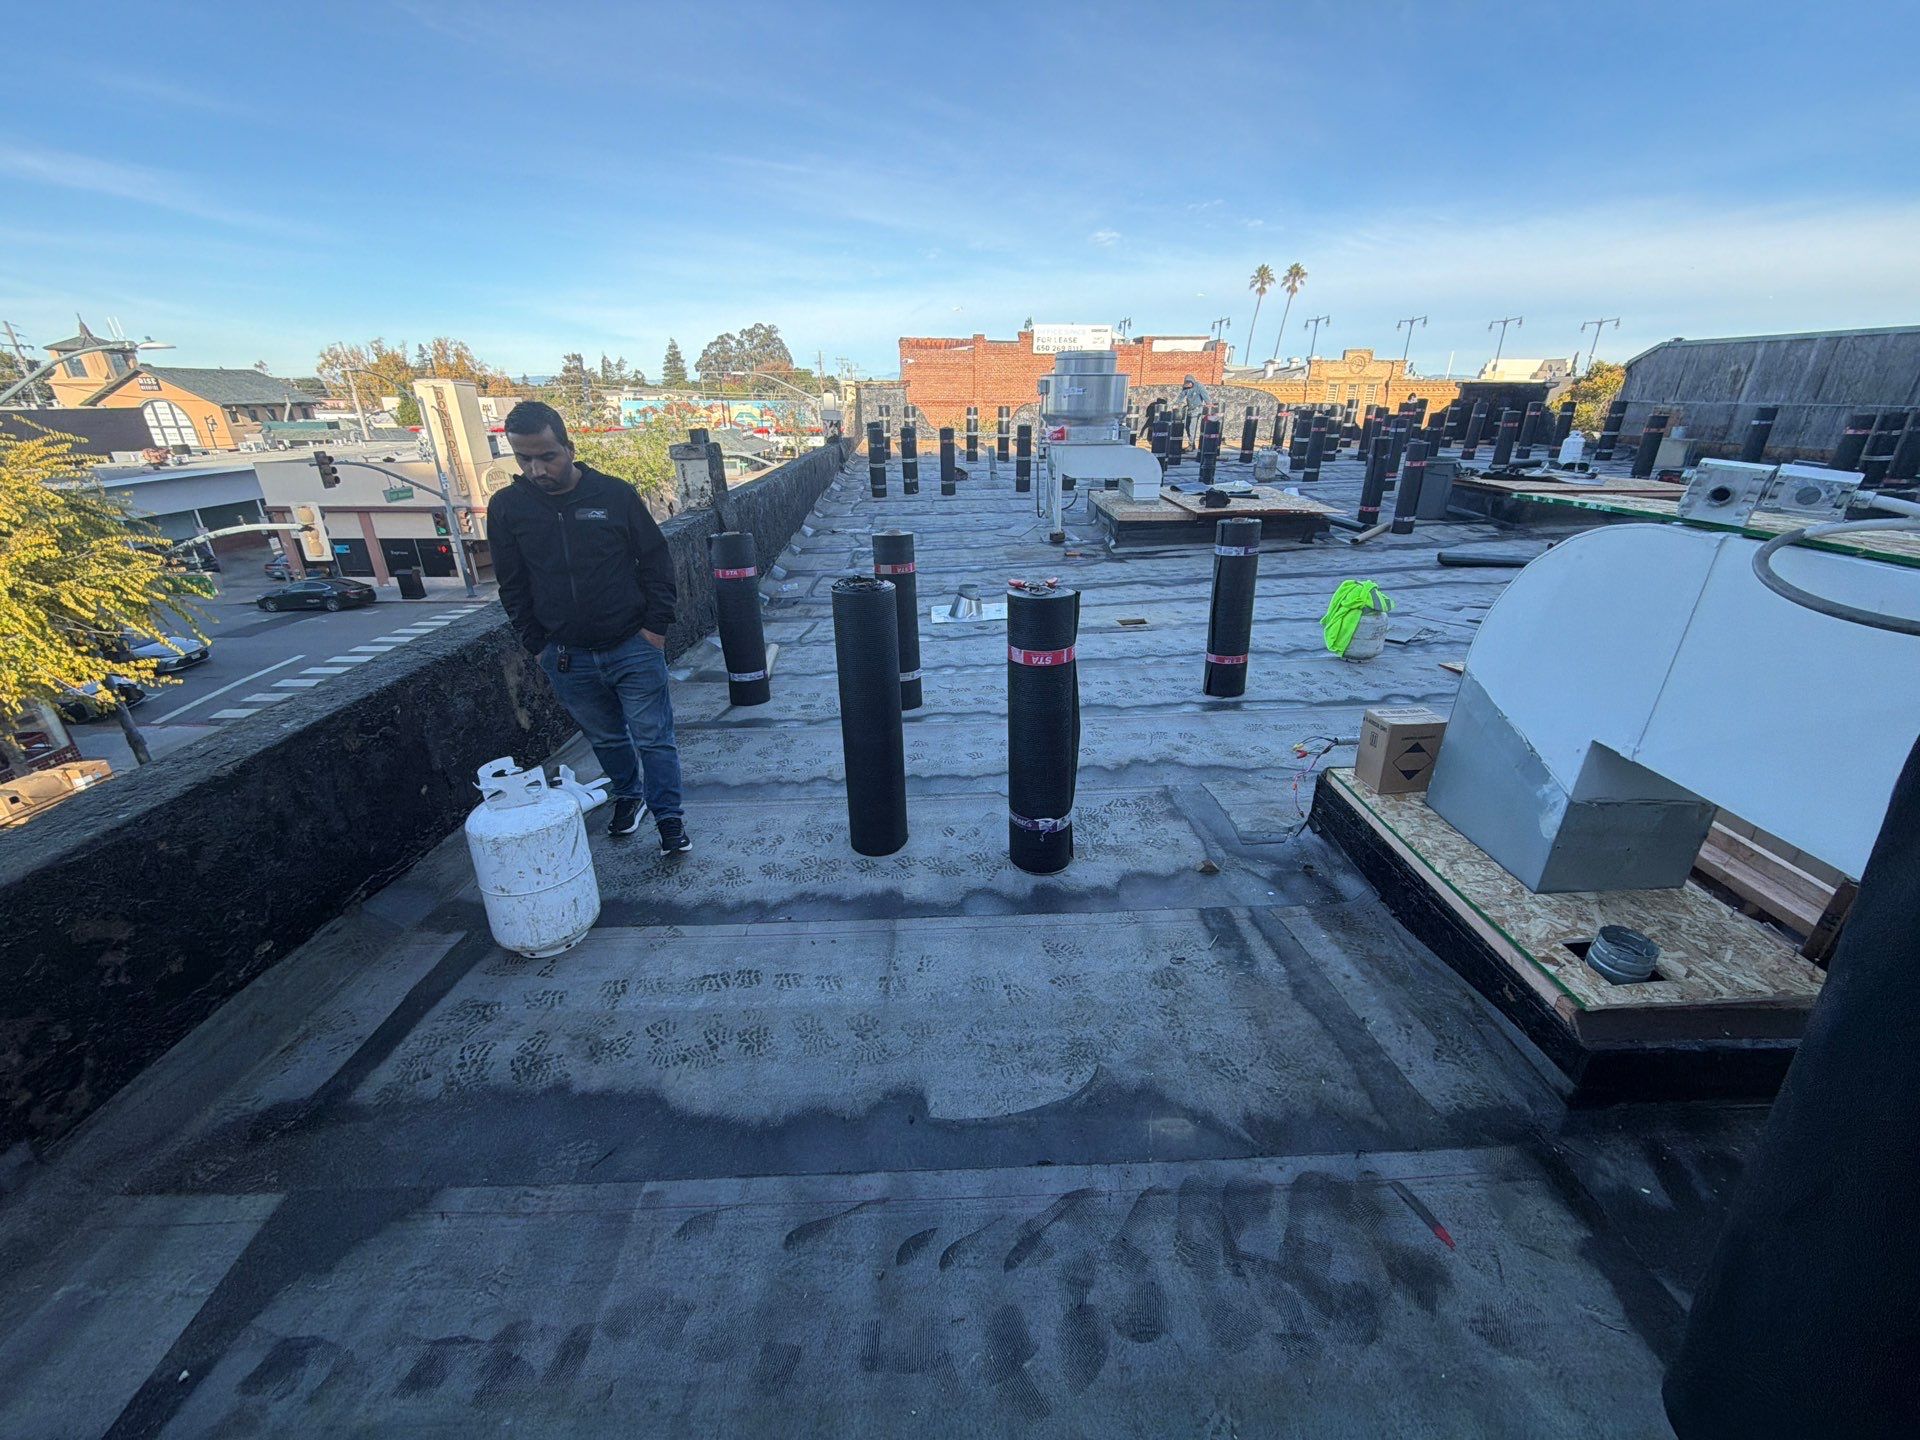
3) Base Sheet Installation
A base layer is installed to create a stable foundation and improve adhesion.
4) Torch Application and Cap Sheet Installation
The top layer (cap sheet) is torched down and carefully overlapped. This step is where skill matters most—clean seams and correct heat control make the difference between a roof that lasts and one that fails early.
5) Flashing and Detail Sealing
The roof perimeter and penetrations are sealed using proper flashing methods. These areas are the most common leak points, so quality workmanship is essential.
6) Final Cleanup and Walkthrough
A reputable contractor will:
Inspect seams and edges
Confirm drainage performance
Provide documentation and warranty details
Leave the property clean and safe
How Long Does a Torch-Down Roof Last?
With proper installation and normal maintenance, torch-down roofs can commonly last 15–25 years, depending on:
Number of plies used
Sun exposure and ventilation
Roof traffic and debris
Drainage quality
Maintenance schedule
A quick annual check (especially after storms) can extend the roof’s lifespan significantly.
Signs You May Need a Torch-Down Roof Replacement
If your roof is flat or low-slope, watch for:
Cracks, blisters, or bubbles in the surface
Lifting seams or exposed edges
Soft spots when walking on the roof
Interior stains or recurring leaks
Ponding water that doesn’t drain within 48 hours
Catching these early can sometimes allow for repairs instead of full replacement.
Torch-Down Roofing Safety: Why You Want a Pro
Because torch-down installation uses an open flame, it must be handled by experienced professionals with proper fire safety procedures. A qualified roofer will use:
Fire-resistant barriers where needed
Extinguishers and trained crew protocols
Correct torch technique to avoid overheating materials
Proper ventilation and site protection
This is not a DIY roof type—and choosing the right contractor is just as important as choosing the right material.
Get a Torch-Down Roofing Estimate in San Mateo
If you’re considering a torch-down roof for your San Mateo property, the best next step is an on-site inspection. A professional roofer can evaluate your roof’s slope, drainage, decking condition, and flashing details to recommend the right system (2-ply or 3-ply) and provide a clear estimate.
If you’re in the Bay Area and want a reliable roofing team, Roof Express is a strong option for flat and low-slope roofing projects, including torch-down systems.
Optional Call-to-Action (Copy/Paste)
Need a flat-roof upgrade in San Mateo? Contact our team for a torch-down roof inspection and quote. We’ll review your roof’s condition, explain the best system for your property, and provide a clear, no-pressure estimate.